Fixing Loose Inserts in Plastic Injection Molds
Inserts (including cavity inserts, core inserts, ejector pins, and slide inserts) are critical components of plastic injection molds, and their stability directly affects part quality and mold lifespan. During production, inserts often loosen due to injection pressure (100–200 MPa), temperature cycles (room temperature to 150°C), and melt erosion. Minor looseness causes dimensional deviations, surface steps, and flash, while severe cases can lead to insert jamming, mold damage, or even insert breakage. Repairs should follow the principles of graded treatment, precision matching, balanced force distribution, and scenario adaptation, selecting solutions based on the degree of looseness and operating conditions.
I. Core Principles and Precision Requirements
1.1 Key Principles
Graded Treatment: Choose solutions based on looseness severity. Prioritize repairing existing structures for minor issues to avoid over-processing.
Precision Matching: Maintain a fit gap of 0.005–0.01 mm for precision parts and 0.01–0.02 mm for general parts to eliminate movement.
Balanced Force Distribution: Distribute injection pressure through multi-point positioning to avoid stress concentration at single points.
Scenario Adaptation: Use high-temperature, high-strength solutions for inserts operating above 80°C or under pressures exceeding 150 MPa.
1.2 Industry-Recognized Precision Parameters
Interference Fit: 0.003–0.008 mm for steel inserts, 0.01–0.015 mm for alloy inserts.
Fastener Standards: Grade 8.8 or higher bolts with torque values: M4 (2–3 N·m), M6 (5–7 N·m), M8 (10–12 N·m).
Surface Accuracy: Ensure flatness error ≤ 0.01 mm after welding or bonding to avoid affecting part surfaces.

II. Solutions by Looseness Severity
2.1 Minor Looseness (Displacement ≤ 0.05 mm, No Wear on Contact Surfaces)
Application: New mold assembly errors, slight displacement during short-term production, with no surface damage.
Fastening + Thread Locking (80% of cases)
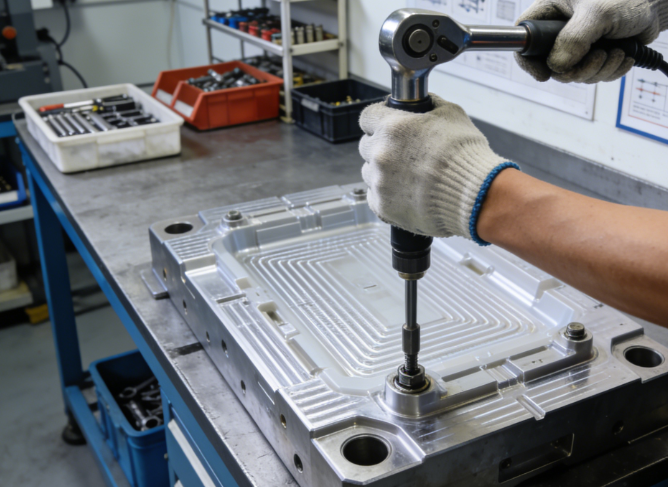
Remove screws with a torque wrench, clean threads with ethanol, and dry. Replace damaged screws with high-strength equivalents.
Apply medium-strength threadlocker (e.g., Loctite 243) to screw threads (fill ? of the thread engagement).
Tighten to standard torque and allow ≥12 hours for curing before testing.
Spot Welding (Non-cosmetic Surfaces Only)
Clean gaps and weld 2–3 points (≤2 mm diameter, 80–100 mm spacing) using argon arc welding.
Grind welds flush with 800–1000 grit sandpaper, avoiding threaded holes and cooling channels.
Lock Washer (For Vibration-Prone Molds)Add a spring lock washer between the screw and insert to enhance anti-loosening performance when used with threadlocker.
2.2 Moderate Looseness (Displacement 0.05–0.2 mm, Minor Surface Wear)
Application: Long-term use leading to surface scratches or wear, where tightening alone is insufficient.
Hard Chrome Plating + Precision Grinding (Steel Inserts)
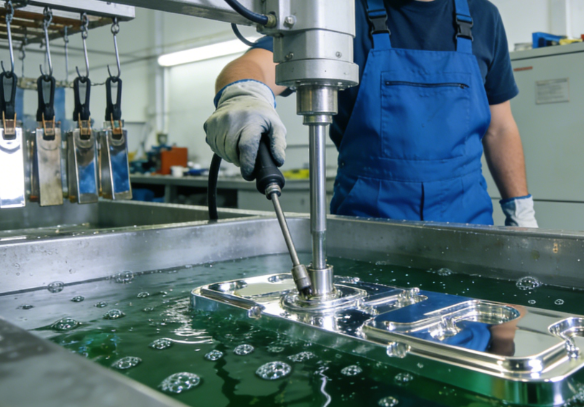
Preprocess the surface to remove burrs, then apply 0.01–0.02 mm of hard chrome plating.
Grind to restore original dimensions, ensuring 0.003–0.008 mm interference fit.
Eliminate hydrogen embrittlement by heating to 200°C for 2 hours. Ensure hardness ≥ HV850 after plating.

Dowel Pin + Adhesive Bonding (Small Inserts)
Drill a φ2–φ4 mm hole in a non-loaded area of the insert, avoiding the main force direction.
Press-fit a dowel pin with 0.002–0.005 mm interference, then apply epoxy adhesive (e.g., Loctite 9466) to the contact surface.
Cure at 60°C for 4 hours, ensuring the surface is free of oil before bonding.
Brush Plating (Emergency Repairs)Use brush plating to apply a 0.005–0.01 mm layer for quick, low-volume repairs. Note that wear resistance is lower than hard chrome plating.
2.3 Severe Looseness (Displacement > 0.2 mm, Severe Surface Damage)
Application: Collapsed contact surfaces, elliptical holes, or complete failure of the original fixing structure.
Bushing Installation + Shrink Fit (High-Pressure, High-Volume Production)
Enlarge the existing hole by ≥1 mm, then machine an SKD11 alloy bushing (HRC 58–62) with 0.01–0.015 mm interference.
Heat the mold to 180–200°C (≤5°C/min heating rate) and press-fit the bushing.
Freeze the new insert to -20°C for ≥2 hours, then press-fit into the bushing with 0.005–0.01 mm interference.
Verify coaxiality ≤ 0.01 mm after assembly.
Replace Insert + Optimize Fixing Structure (Large/Critical Inserts)
Replace the worn insert and upgrade from single-screw fixing to “screw + anti-rotation slot” or “dovetail slot” fixing.
Anti-rotation slots: Tolerance ±0.005 mm, paired with a dowel pin to prevent rotation.
Dovetail slots: 15°–20° angle, fit gap ≤ 0.005 mm, and polish the load-bearing surface to Ra ≤ 0.4 μm.
Weld Repair + Re-machining (Mold Salvage)Fill the damaged hole with argon arc welding, then re-drill and ream to the original size. Anneal at 600–650°C for 1 hour to relieve welding stress.
III. Specialized Solutions for Specific Inserts
3.1 Small Pins (≤3 mm Diameter)
Use shrink fitting: Heat the pin to 300–350°C and press-fit into the mold with 0.002–0.004 mm interference. Alternatively, replace with an integrated pin to avoid looseness.

3.2 Inserts Near Cooling Channels
Avoid organic adhesives (water-soluble). Instead, weld and re-grind the hole, or use a Shore 70–80 O-ring (15%–20% compression) with a dowel pin for sealing and positioning. Test for leaks at 1.5–2.0 MPa water pressure.
3.3 High-Temperature Inserts (>120°C)
Use high-temperature threadlocker (e.g., Loctite 271, 230°C resistance). Increase shrink fit interference by 0.002–0.003 mm to compensate for thermal expansion. Check fit gaps every 30,000 cycles.
IV. Post-Repair Validation and Maintenance
4.1 Validation
Run 50–100 dry cycles to check for insert movement.
Inject 50 parts and verify dimensional tolerance ≤ ±0.02 mm, with no surface steps or flash.
Test under maximum injection pressure to confirm stability.
4.2 Maintenance
General Areas: Check tightness and reapply threadlocker every 50,000 cycles.
High-Temperature/Pressure Areas: Inspect fit gaps every 30,000 cycles; repair if exceeding 0.015 mm.
Record Keeping: Document repair dates, methods, and parameters for traceability.
V. Summary
Loose inserts require graded solutions: minor issues use fastening/spot welding, moderate cases use chrome plating/dowel pins, and severe cases use bushing installation or structural upgrades. Special inserts (small pins, near cooling channels) need tailored fixes. The key is to balance precision, force distribution, and scenario adaptation, with validation and regular maintenance ensuring long-term mold stability.
